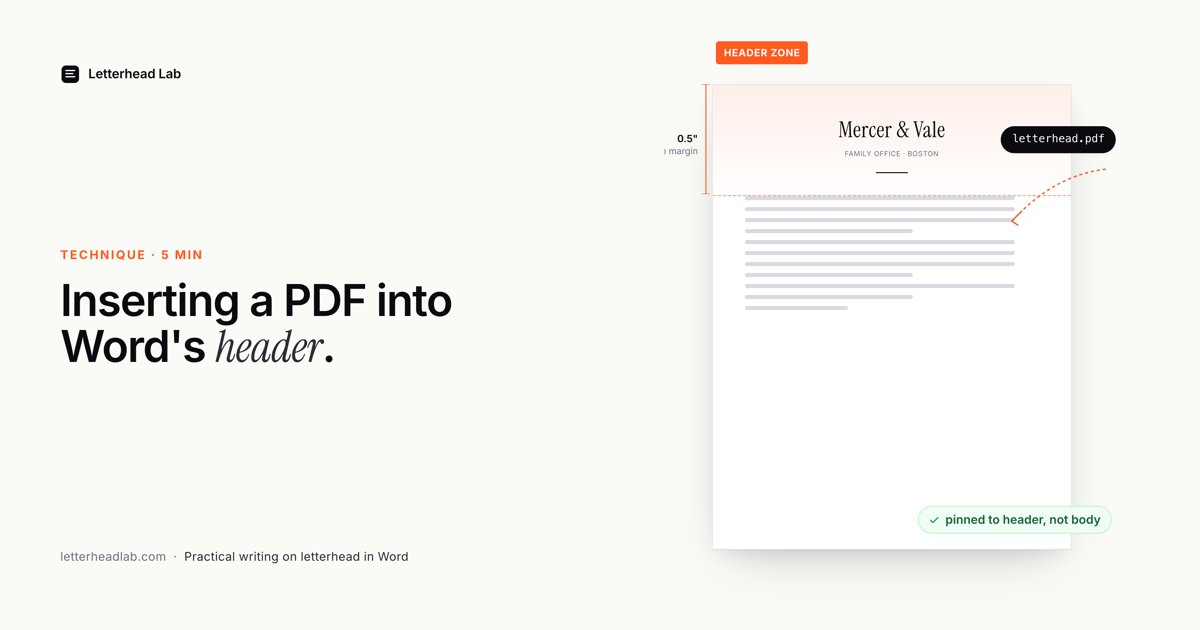
Word lets you put an image in the header. The obvious workflow — insert PDF, scale it down, hope it looks right — produces a file that scales wrong, breaks margins, and corrupts when forwarded. Here's the workflow that actually works.
Why the obvious approach fails
If you Google "insert PDF into Word header" the first results all tell you to do this:
- Open Word.
- Insert → Header → Edit Header.
- Insert → Object → Adobe Document.
- Pick the PDF, click OK.
Don't do this. The result is a Word document that contains an embedded PDF object. It looks fine on your machine because Acrobat is rendering the embed. On a coworker's machine without Acrobat, it shows a placeholder rectangle. On a Mac forwarded from a PC, it sometimes loses the embed entirely. And the file size doubles.
Embedded objects are the wrong abstraction for letterhead. You want the artwork to be a flat, raster image that's baked into the document and travels with it.
The right workflow (manual)
If you want to do this by hand, here's what works. (Skip to the bottom if you'd rather have it done in 60 seconds.)
- Crop the PDF. Open your letterhead PDF in Acrobat (Tools → Edit PDF → Crop Pages) or macOS Preview (Rectangular Selection, then ⌘K). Crop to just the top portion — typically the top 1.5 inches — and save as a new PDF. Repeat for the footer if your letterhead has bottom artwork.
- Export the crop as a high-res PNG. You want at least 300 DPI for print quality. In Acrobat: File → Export As → Image → PNG at 300. In Preview: File → Export, PNG, 300. A US Letter header crop comes out roughly 2550×450 pixels.
- Insert into the header. In Word: Insert → Header → Blank. Insert → Pictures → This Device, and pick the PNG. Set the wrap to Behind Text.
- Pin the image to the page anchor. Right-click the image → Wrap Text → More Layout Options. Horizontal: Centered relative to Page. Vertical: Absolute position 0" below Page. Check "Lock anchor" and uncheck "Move object with text." This is what keeps the artwork in place when the body reflows.
- Set the body margins. Layout → Margins → Custom Margins. Top margin should equal the header artwork height plus breathing room — about 1.75" if the art is 1.5" tall.
- Save as
.docx. File → Save As → Word Document. Don't save as.doc— older formats can corrupt anchored images.
Test it: type a paragraph, then mash Enter until you push to page 2. The artwork should appear on page 2 in the same position. If it doesn't, you missed the anchor step.
The version most people actually use
That's about 30–45 minutes if everything goes right. It goes right about 60% of the time. The other 40%, you end up with anchoring issues, margin collisions, or scaling problems and start over.
This is the entire reason Letterhead Lab exists. You drop in the original PDF — uncropped, intact — drag two sliders to set the top and bottom crop heights, and download a .docx where all of the above is already done correctly. About 60 seconds. The conversion runs in your browser, so we never see your PDF.
If your letter runs long, the manual anchor trick still leaves you configuring continuation headers by hand — the multi-page letterhead converter sets the full letterhead on page one and a lighter continuation header on every page after. Firms that produce long filings can see how that plays out on the multi-page filing workflow.
The obvious workflow
Embed the PDF as an object, or paste the page as a background image. Looks fine on your screen; breaks on a colleague's machine, doubles the file size, and shifts when the body reflows.
The right workflow
Artwork as a flat image, anchored to the page in the header and footer. Travels with the file, repeats on every page, survives forwarding — whether you do it by hand or convert the PDF straight to a Word header.
A note on the "just use a free PDF-to-Word converter" advice
Generic PDF-to-Word converters (Smallpdf, ILovePDF, Adobe's online tool) are designed to make every element of a PDF editable. For a designed letterhead this is exactly the opposite of what you want. The logo becomes editable text in a font you don't have. The address gets split across three text boxes that overlap. The monogram gets rasterized at the wrong DPI.
What you want is the artwork to stay as artwork — locked into the header and footer, untouched — while the body remains a clean blank space for typing. That's the model Letterhead Lab uses, and it's the model the manual workflow above produces. It's the right shape; the only difference is whether you spend 45 minutes doing it by hand.
Frequently asked questions
- Can I put a PDF directly in a Word header without converting it?
You can embed it as an object, but you shouldn't — embedded PDF objects render only where Acrobat is installed and often break when the file is forwarded. The reliable approach is a flat image anchored in the header, which is what a proper conversion produces.
- What resolution should the header image be?
At least 300 DPI. For a US Letter page that means a header crop around 2550 pixels wide. Lower resolutions look soft when the letter is printed.
- Will the letterhead repeat on page two?
Only if the image is anchored to the page in the header — not pasted into the body. Anything in Word's header repeats on every page automatically; anything in the body does not.