"Letterhead in Word" is one search phrase covering at least three different jobs. Some people are starting with nothing and want to build a letterhead. Some already have a designed image and want to drop it into a document. Some have a finished PDF from a designer and need that exact design to work in Word. Those are not variations on one task — they are three separate tasks, and the right method for one is the wrong method for the others.
This is the long version: every path, in full, with an honest read on which situation each one fits. If you only want the quick answer, skip to the decision tree at the end.
The three paths
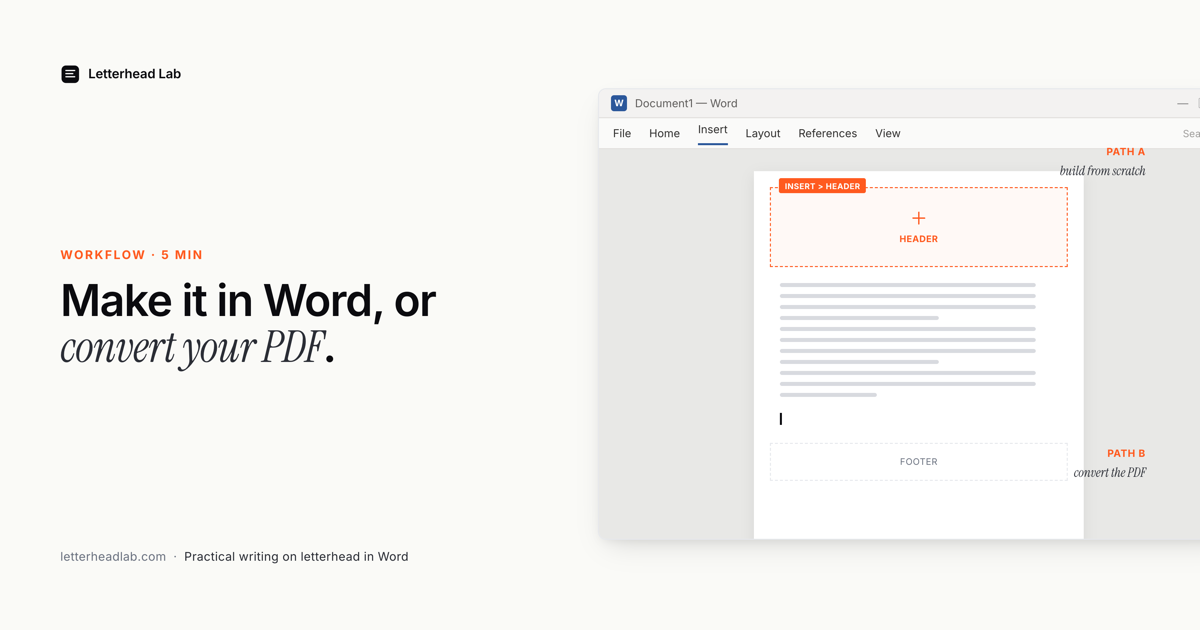
There are three ways to end up with a letterhead in Word, and they start from three different places.
Path 1 — build it from scratch. You open a blank document and arrange your name, address, and logo into a header yourself. This fits the person who has no designed letterhead and is not going to commission one — internal memos, a sole practitioner, low-stakes correspondence.
Path 2 — add a letterhead image to a header. You already have the letterhead as an image file and you place it into Word's header. This fits the person whose designer handed over a flat PNG or JPG of the artwork, or who already exported one.
Path 3 — convert a designed PDF. You have a finished, designed letterhead as a PDF and you turn it into a Word document that keeps the design pixel-for-pixel. This fits the person who paid a designer or stationer for a real identity and now needs to type letters on it.
Each path is covered in full below. They are ordered from "most manual, least designed" to "least manual, fully designed" — which, not coincidentally, is also the order of how good the result looks.
Path 1 — build it from scratch
This is the path most people picture when they search "how to make letterhead in Word." It is the right path if you do not already have a designed letterhead and are not going to get one. Word is not a design tool, but it can arrange text and an image on a page well enough for everyday correspondence.
Set up the page
- Open Word and start a blank document.
- Go to Layout → Margins → Custom Margins. Set the top margin to 1.75", the bottom to 1", and the sides to 0.75". The wide top margin is what leaves room for the header without the letter text colliding into it.
- Go to Layout → Size and choose Letter for North American correspondence, or A4 if you write internationally.
Add the header
- Insert → Header → Blank.
- Type your business or personal name. Use a serif face if you are going for traditional, a sans-serif if modern. Set it to roughly 18–22pt.
- On the line below, type your address as a single run:
123 Main St · City, State · (555) 123-4567 · you@yourdomain.com. - Set that address line to 9–10pt and a muted gray so it sits quietly under the name.
- If you have a logo file, use Insert → Pictures, place it before the name, then right-click → Wrap Text → In Front of Text so you can position it freely. Resize from a corner handle to keep the proportions.
Add the footer
Optional, but common for formal correspondence. Insert → Footer → Blank. Typical contents are a thin horizontal rule, a website URL, social handles, or — for a registered legal entity — a company or bar registration number.
Save it as a template
File → Save As, and choose Word Template (.dotx) as the format. From then on, double-clicking the .dotx opens an unsaved "Untitled" copy, so you can write a letter without any risk of overwriting the master. More on that choice in the .docx vs .dotx section below.
The honest read on Path 1
Building a letterhead from scratch takes about 30 minutes if you have an existing logo file and some typographic instinct. It takes closer to two hours if you do not. The result is functional. It is arranged, not designed — Word cannot kern, cannot set tracking, and cannot reproduce two-color foil or engraving. For internal memos and low-stakes mail that is a perfectly reasonable trade. For correspondence that carries brand weight, it is not, and that is what Paths 2 and 3 are for.
If you would rather not arrange anything by hand at all, a pre-structured starting point — header height, margins, and footer already set correctly — is faster than a blank page. That is what the letterhead-to-Word template tool and the Word letterhead formatting tool give you: the skeleton built right, so you only drop in your details.
Path 2 — add a letterhead to an existing Word document
Path 2 starts from a flat image of your letterhead — a PNG or JPG — rather than a blank page. You are not arranging type; you are placing a finished picture. This is the right path when a designer gave you the artwork as an image, or when you have already exported one from another file.
The whole job is to get that image into Word's header, not the body. The header is the layer that repeats on every page and stays out of the way of the text you type. Put the letterhead in the body and it will shift the moment you press Enter; put it in the header and it is locked in place.
Insert the image into the header
- Insert → Header → Blank to open the header area.
- With the cursor in the header, Insert → Pictures → This Device, and choose your letterhead image.
- Click the image, then use the Layout Options button (or right-click → Wrap Text) and set it to Behind Text, anchored to the page. This lets your letter text sit on top of the header artwork instead of being pushed around by it.
- Repeat for any footer artwork: Insert → Footer → Blank, then insert that image the same way.
Size it correctly
The image must match the page it sits on, or the design will print shifted.
- Set the picture width to the full page width if the artwork bleeds edge to edge, or to the text-area width if it sits inside the margins. Drag from a corner handle so the proportions hold.
- Set the body's top margin so the first line of the letter clears the header artwork. A header that is 1.5" tall needs a top margin of at least 1.75". The same logic applies to the footer and the bottom margin.
- Use a high-resolution image. A letterhead image saved at screen resolution will look soft once printed; aim for artwork exported at 300 DPI.
Add alt text
Right-click the image → Edit Alt Text and describe it briefly — "Acme LLP letterhead" is enough. Alt text travels with the file, helps screen readers, and keeps the document accessible if it is ever sent to a court system or a client that checks for it.
Save as .dotx
If more than one person will draft letters from this document, save it with File → Save As → Word Template (.dotx). A template opens a fresh copy each time, so nobody saves their letter over the master.
The full step-by-step — including the awkward parts, like extracting artwork when all you have is a PDF — is in our guides to inserting a PDF into a Word header and the three ways to add a letterhead to a Word document. Note the limit of this path: it works cleanly when you genuinely have a flat image. If what you have is a PDF, you either export an image from it first or skip straight to Path 3, which does that for you.
Path 3 — convert a designed PDF
Path 3 is for the person who already owns a real, designed letterhead — a PDF from a designer or a stationer — and wants that exact design working in Word. You do not want to rebuild it. You want the file you already paid for to function as a letter page.
The instinct is to run the PDF through a generic PDF-to-Word converter. Do not. A generic converter assumes you want every element editable, so it picks the design apart: the logo is rebuilt in whatever font Word guesses at, the address block splinters into overlapping text frames, and any foil or engraving detail is simply lost. The file opens in Word, technically — and looks nothing like the letterhead you paid for.
A correct conversion does the opposite. It keeps the artwork as artwork — the letterhead is placed, untouched, into Word's header and footer, and only the letter body is left editable. That is the same model as Path 2, just done automatically instead of by hand: crop the header artwork, place it in the header at full resolution, do the same for any footer artwork, and set the margins so the body text starts cleanly below.
This is the job Letterhead Lab's PDF-to-Word converter does. Upload the PDF, set the crop in a live preview, and download the Word file — about a minute, versus the 30–45 minutes the manual version takes. Your PDF stays in your browser the whole time: the conversion runs client-side, so a file that may carry a confidential client name or a private family identity is never uploaded to a server. Pricing is concrete — Single is $19 per page, and the Multi-page bundle is $49 flat for up to 10 pages.
The full treatment of why generic converters fail and what a correct conversion produces is in the complete PDF-letterhead-to-Word guide. If you are still deciding between converting your own PDF and starting from a generic template, Word template vs converting your PDF lays out that choice directly.
The format rules that actually matter
Whichever path you take, a few formatting decisions determine whether the letterhead looks composed or cramped. These are the ones worth getting right; the rest is taste.
Margins
The top margin has to clear the header artwork with a little air to spare. A 1.5" header wants a 1.75" top margin. Too tight and the first line of the letter crowds the design; too loose and the letter floats. The bottom margin follows the same rule against the footer. Side margins of 0.75"–1" are standard.
Header and footer height
Word measures the header from the top edge of the page, set under the Header & Footer tools as "Header from Top." This value, plus the height of your artwork, has to stay under the top margin — otherwise the header runs into the body. Match the header height to the artwork, then set the margin above it.
Type sizes
Body text for a letter sits at 11–12pt. The name in a from-scratch header runs 18–22pt; the address line under it 9–10pt. Keep the contrast deliberate — a header where everything is the same size reads as undesigned.
Paragraph spacing
Use space after paragraphs (around 8–10pt) rather than blank lines between them. Blank lines are brittle: they shift when text is edited and break across page boundaries. Set line spacing to single or 1.15 for a letter.
The full set of formatting specifics — exact measurements, header-distance values, and how to keep them stable as the letter is edited — is in letterhead format in Word.
.docx vs .dotx — which to save
Both formats hold the same letterhead. The difference is what happens when someone opens the file.
A .docx is an ordinary document. Open it, edit it, save it, and your edits go back into that same file. Fine when one person owns the letterhead and drafts every letter themselves.
A .dotx is a template. Double-clicking it does not open the template — Word creates a fresh, untitled copy and you edit that. The master on disk is never touched. For a letterhead a whole team drafts from, this is the format you want: it makes it impossible for someone to save their letter over the master, which is otherwise an inevitable accident, not a rare one.
The short rule: one drafter, or maximum portability to Google Docs and Pages → .docx. A shared template a team uses → .dotx. The full comparison, including why other editors handle templates inconsistently, is in .dotx vs .docx for letterheads.
Single page vs multi-page (continuation headers)
A one-page letter needs one letterhead. A letter that runs longer needs two.
The full letterhead goes on page one; a lighter continuation header appears on every page after — usually just the firm or family name, a page number, and the date — so a reader can place a stray page without the full masthead repeating in full.
Word handles this with the "Different First Page" setting under the Header & Footer tools. Turn it on, and page one carries one header while pages two onward carry another. Setting it up by hand means building two headers and getting the margins right on both. If you are converting a designed PDF, the multi-page letterhead conversion builds the first-page-different continuation header for you, which is the structure formal multi-page correspondence expects.
This is also where the Multi-page bundle earns its place: at $49 flat for up to 10 pages, it returns every format — .docx, .dotx, A4, US Letter, and the continuation-header setup — from a single upload, which is cheaper than per-page conversion from the third page on.
When to skip Word entirely
Word is the right home for correspondence you compose, edit, and send digitally. It is not the right home for every letter.
If the letterhead is meant to be engraved or printed — raised ink, foil, a deckled edge, the tactile stationery that a law firm or a family office sends for the correspondence that genuinely matters — Word cannot reproduce any of that. It can place an image of the artwork, but an image of engraving is not engraving. For that, the letter belongs on physical stock, printed by a stationer.
Our anchor partner Wells & Drew has done exactly that work since 1855 — engraved letterhead, envelopes, calling cards, monograms. If the document is the kind of thing a recipient holds rather than scrolls, skip Word for that piece and have it engraved. Use the Word conversion for the day-to-day mail, and keep the engraved stock for the letters that warrant it. The two are not in competition; most law firms and design agencies we work with use both.
Which path fits which situation
Start from what you have in hand.
If you have nothing — no design, no image, no PDF — and the letterhead is for internal or low-stakes use, build it from scratch (Path 1). Accept that it will be arranged, not designed, and move on.
If you have a flat image of a letterhead — a PNG or JPG — drop it into a Word header (Path 2). Size it to the page, anchor it behind text, add alt text, and save as .dotx if a team will share it.
If you have a designed PDF from a designer or stationer, convert it (Path 3). Do not rebuild it in Word and do not run it through a generic converter — both produce something worse than what you started with. A correct conversion keeps the design exactly and leaves the body editable, and it runs in your browser, so the PDF never leaves your device.
And if the letter is meant to be held, not scrolled — engraved, printed, tactile — skip Word for that piece entirely and have it printed properly. The fastest way to the wrong result is taking the path that fits a situation you are not actually in: most often, that is someone with a designed PDF trying to rebuild it from scratch. If you already paid for the design, the job is to convert it, not to do it again.
Frequently asked questions
- What is the best way to make a letterhead in Word?
It depends on what you already have. With no design, build one from scratch in Word's header. With a flat image, insert it into the header. With a designed PDF, convert it so the artwork is preserved exactly — rebuilding a designed letterhead from scratch almost always looks worse than the original.
- How do I add a letterhead image to a Word document?
Open the header (Insert → Header → Blank), insert the image (Insert → Pictures), set its wrap to Behind Text anchored to the page, size it to the page width, and add alt text. Save as a
.dotxtemplate if more than one person will use it.- Should I save my Word letterhead as .docx or .dotx?
Save a
.docxif one person drafts every letter or you need maximum portability to Google Docs and Pages. Save a.dotxtemplate if a team shares the letterhead — Word opens a fresh copy each time, so nobody overwrites the master.- Can I convert a PDF letterhead into a Word letterhead?
Yes. A correct conversion places the PDF's artwork into Word's header and footer as a high-resolution image and leaves the body editable. Avoid generic PDF-to-Word converters — they try to make the design editable and break it. Letterhead Lab's converter runs in your browser, so the PDF is never uploaded.